

Even more on the 'Tin' HAL unit
Entry posted by SRman
758 views
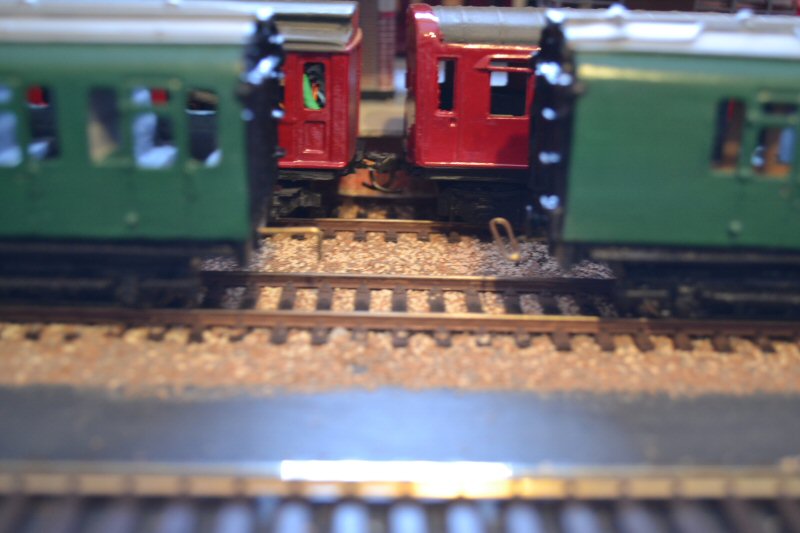
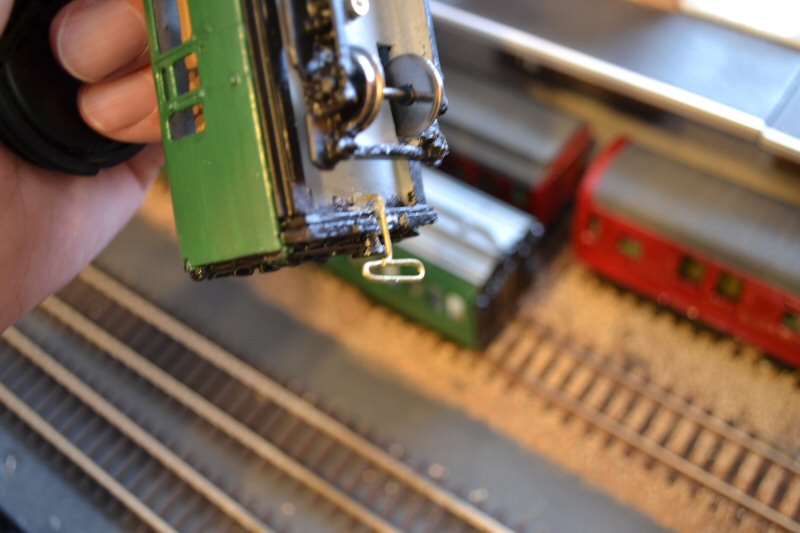
The first group of photos shows the hook and loop coupling system I devised, bent up from stiff brass wire. The hook is a simple 'Z' (or 'N' if you prefer!) shape with one end stuck into the floor and the other projecting downwards. There is a small groove cut into the headstock to locate the hook and stop it from swivelling. The loop is also sitting in the floor and a slot in the headstock but is made quite wide to allow for the end throws of the coaches on curves - by sheer luck I got this right first time.

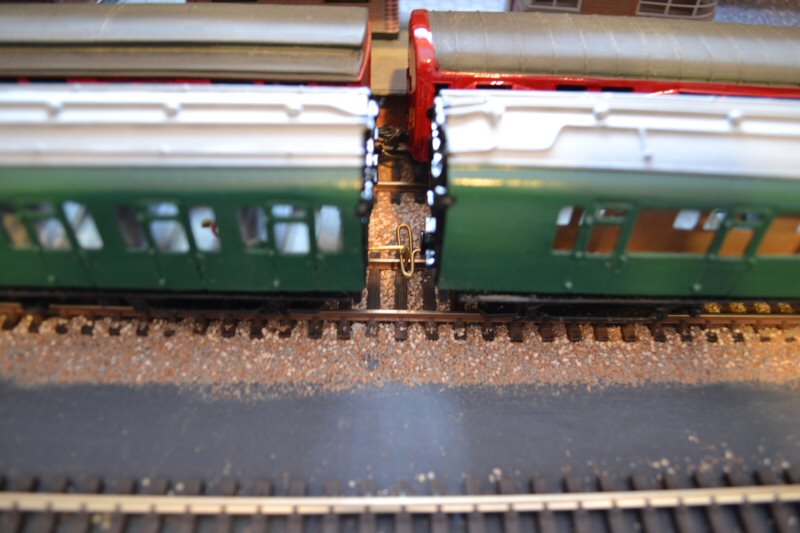
... and coupled together it looks like this:
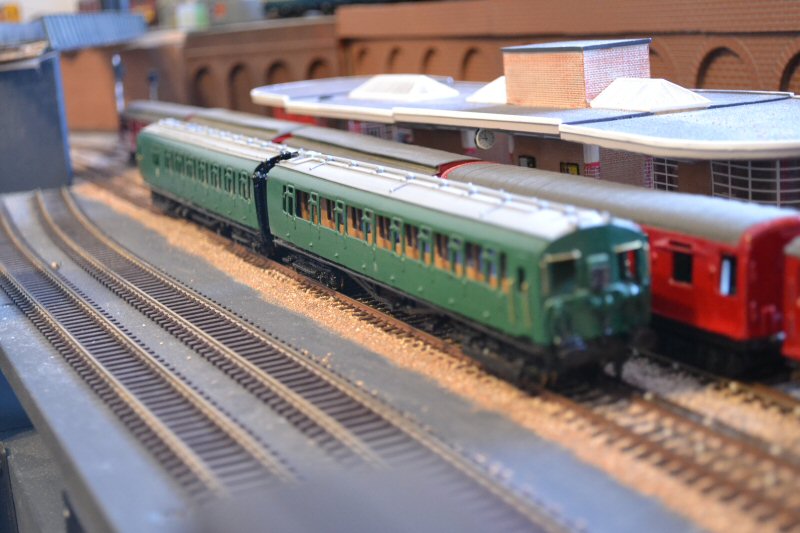
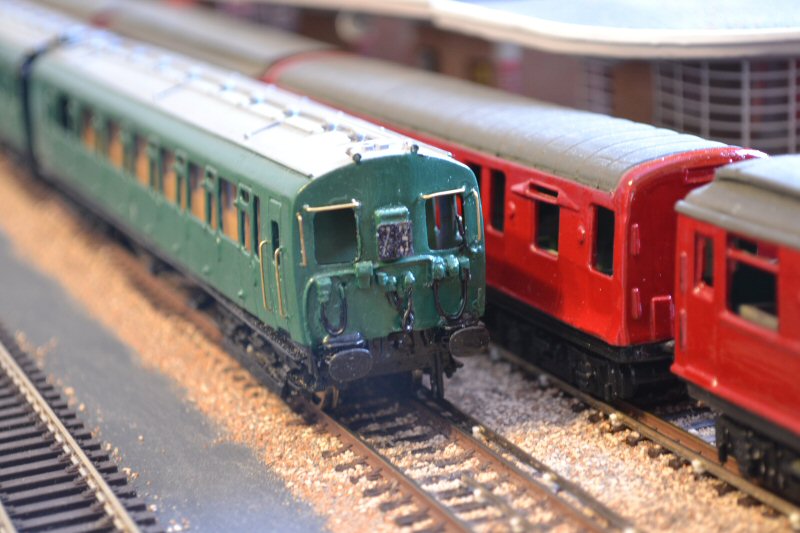
The second group of photos shows the unit as running at present, still with no glazing, no transfers and some detailing still to go but operational. At the DTC end only I have fitted some Roxey Models etched brass headcode stencils, although they have picked up some of the resin filings from my work on the unit, something I hadn't noticed until I took the photo! Sorry the depth of field is not very good on these - the shot I took from the other end of the unit was unusable. The stencils needed quite a bit of trimming to fit and even now are still a little oversized for the aperture - not sure if the model is undersize or the etchings are oversize.
I am seriously considering drilling out the headcode at the other end and fitting a directional LED to light it up in the forward direction.
-
 1
1

2 Comments
Recommended Comments
Create an account or sign in to comment
You need to be a member in order to leave a comment
Create an account
Sign up for a new account in our community. It's easy!
Register a new accountSign in
Already have an account? Sign in here.
Sign In Now