

Scratchbuilding a 7mm loco shed

Entry posted by Paul Lindsay-Scott
3,518 views

I've been building a loco shed for the new exhibition 7mm layout my local club is building. Since I am using the same techniques as I used to build the one for my layout Brookford, I thought I'd share what I'd learnt so far.
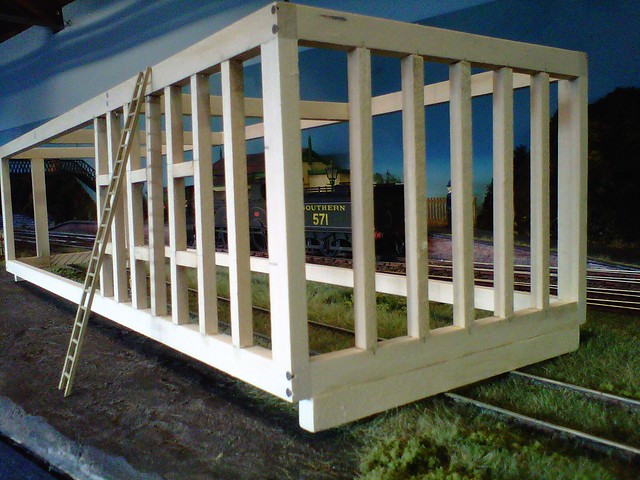
The frame is built from square section obechi.
I drilled and pinned the main joints for strength having glued them first with wood glue.

I made the wooden cladding from beech veneer which I found on line. Two offcuts seven feet long, six inches wide of 0.6mm thick veneer cost £7, one pound a square foot. I cut 6mm strips and glued them on the frame, holding them in place while they dried with the stainless steel hair clips which are so useful for holding etched brass laminations together to solder them.

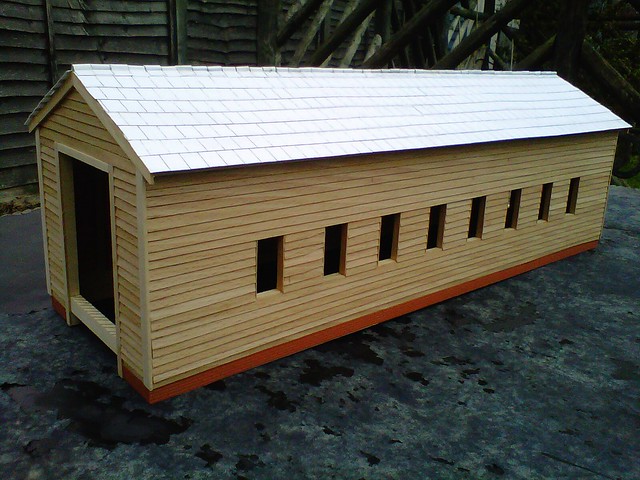
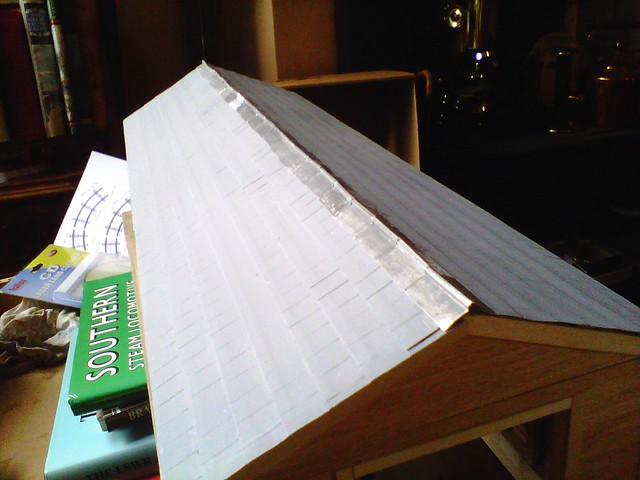
That's some of the veneer in the background. Then I made the roof out of heavy card on a timber frame, with thin cards strips, overlapping, cut to represent the tiles. There is a good website listing the prototypical slate sizes used over the years with their names. These are wide Princess size. But my attempt at ridge tiles was not good enough, they're very uneven.
The bit of frame across the entrance is a redundant strengthener to keep the whole thing square and secure during construction - the shed I built for Brookford got damaged a couple of times getting caught on things.
So to replace the ridge tiles, I cut them off and made lead flashing in their place. I used old toothpaste tubes made of thin lead, cut into scale three foot squares. They nailed a three inch wooden pole along the ridge and then put lead flashing over it, overlapping each sheet.
The result was an improvement when the resulting pieces of lead were glued on.
So then it was out to the paint shops for a first coat for the woodwork - first white inside, then silvery-grey for the weathered planking, slate grey for the roof.
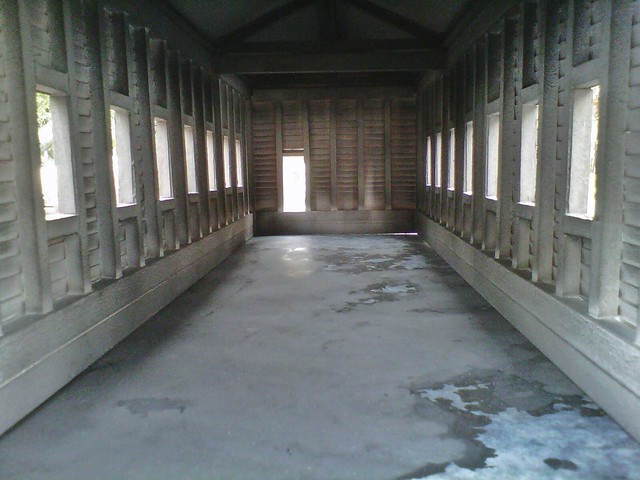
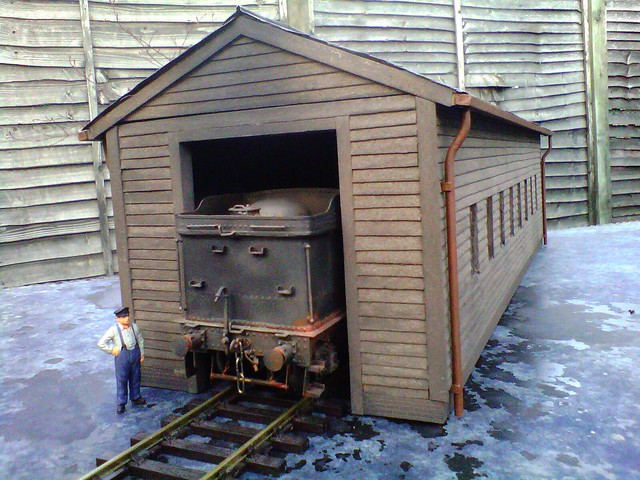
The first weathering consisted of some soot inside.
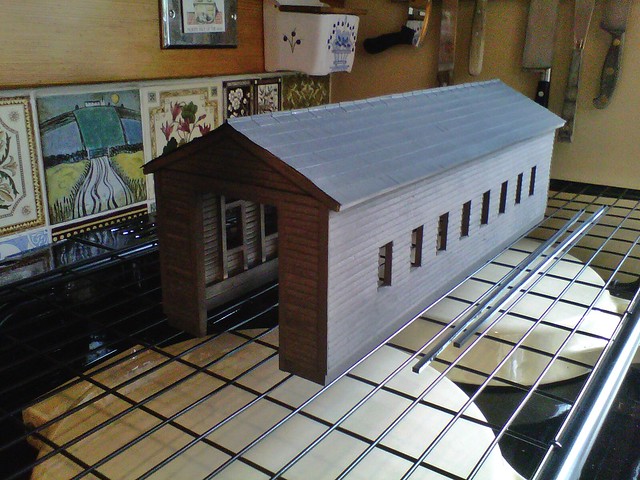
Then it was on to the patent model drying device till it's time for cooking to start!
I'm pleased with it, but none of the techniques are complicated. Some of it's laborious because there are a lot of planks, windows and tiles etc, so it takes time, that's all. The reason I agreed to post stuff on here was to encourage people to try things out, making things themselves. Especially as it tends to cost less, and gives greater satisfaction.
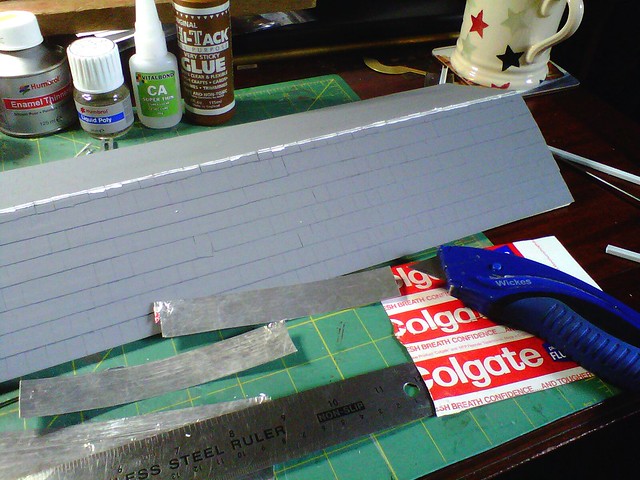
Windows next, using a CD case for clear plastic. Cut to size, with variations to allow for variations in the window openings - my micro-carpentry isn't all that accurate !
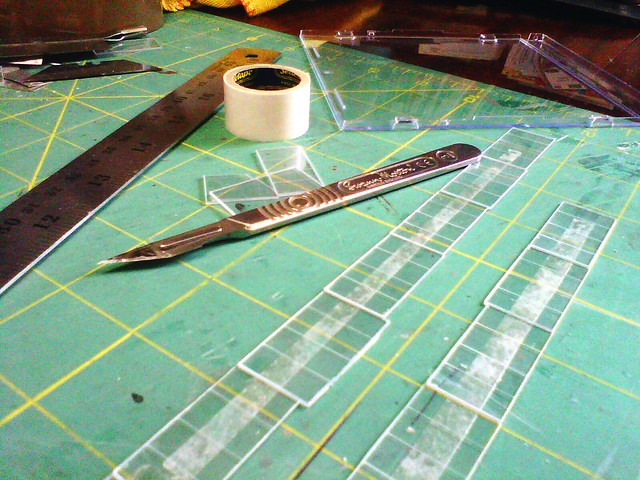
The window bars are just scored on - they will pick up weathering powders later and look ok. All the other ways I've tried look over scale, bodgy or are far too demanding.
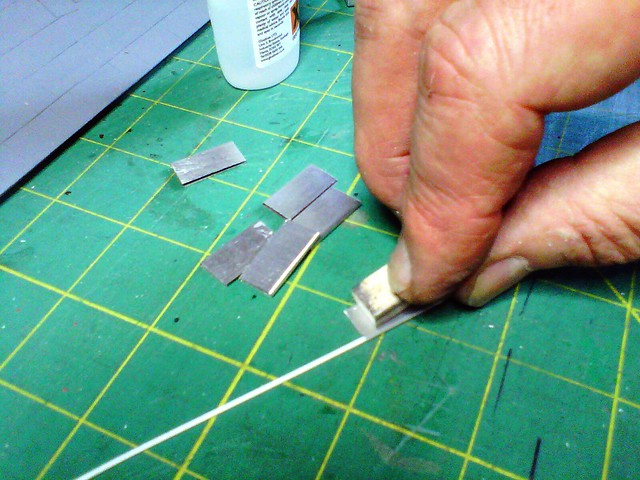
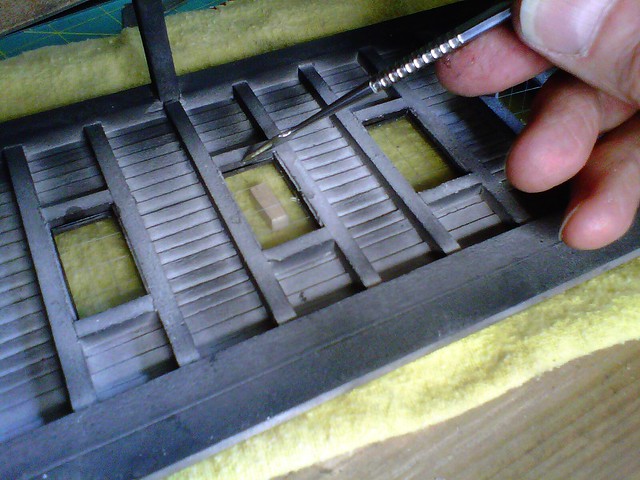
Windows are fixed after fitting and blacking the edges with a felt tip pen, using superglue applied with a point to save it going all over the 'glass'.
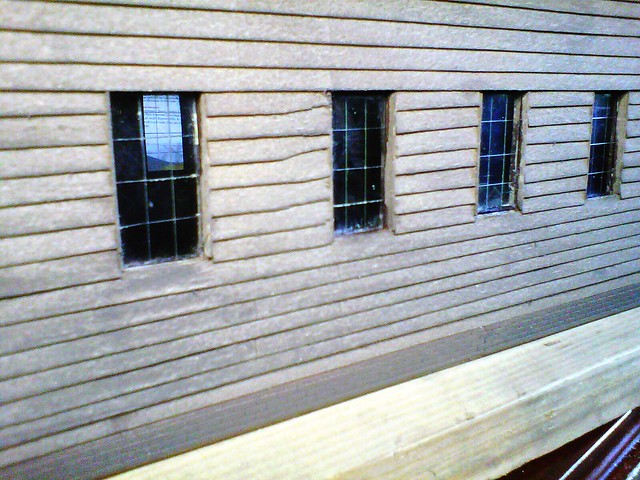
Without any weathering yet, the result is ok.
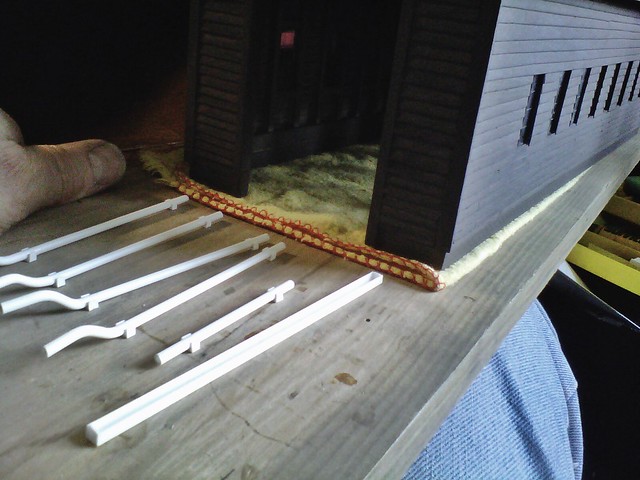
Next it's on to guttering and down pipes - just plastic strip and shapes.
Yes, the window bars are too light in 7mm, but looking at photos of engine sheds, they don't often stand out.
The three foot rule applies here - they don't look too good close up, but they do give a visual hint of something when viewed from normal viewing distance, and I think they look better than over-hefty ones. So often modelling is about giving an idea, a hint, of something rather than an exact miniaturisation of it. No doubt someone sells lovely etched brass window bars.
If you do score the the CD plastic, don't be tempted to score the bars on a whole sheet of windows before snapping the window shapes out - not many snap on the right score-lines if you see what I mean. Hence the double-sided sticky tape to hold the ready cut-out windows while you score the bars. Then the only problem is getting the sticky off !
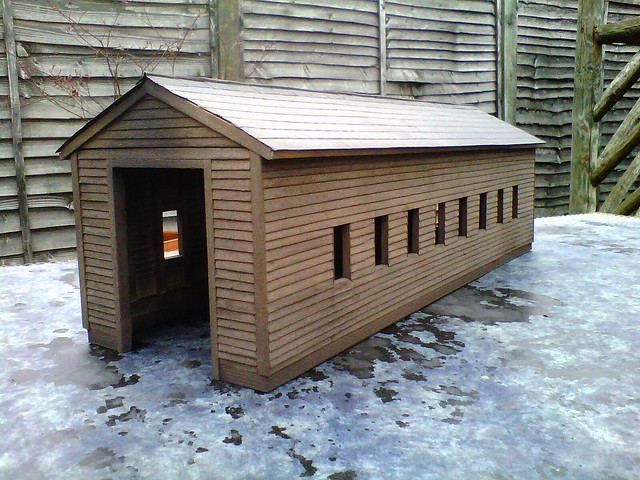
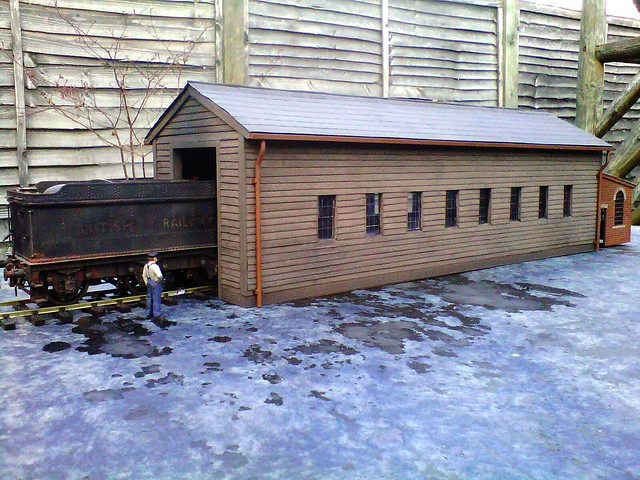
So the shed now has guttering etc.
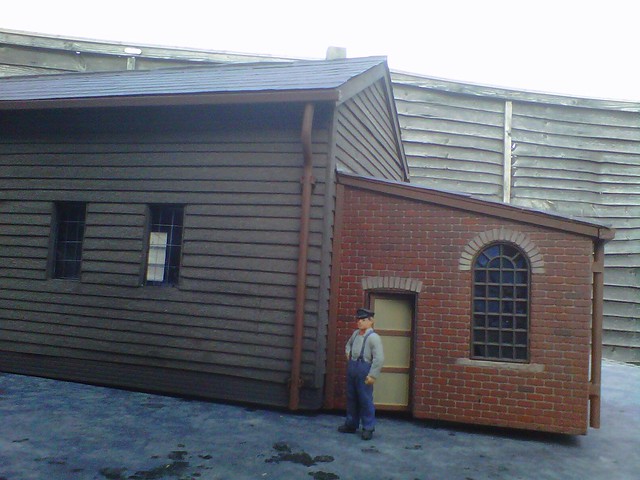
And I recycled a crew room bashed from an earlier plastic loco shed kit, built onto the end of the nineteenth century wooden loco shed when the GWR took over the line.
The garden table is bent, by the way! Jethro isn't quite sure about the facilities yet.
The design brief was for a shed that would take a Black Five (but not a Castle ! ) so it's 18" long.
Just the doors with their hinges, plus the chimeys to do now, as well as interior detailing, lighting and overall weathering. The total cost so far is less than £10.
By the way it's based loosely on Fairford loco shed but with the track in the centre, not offset.
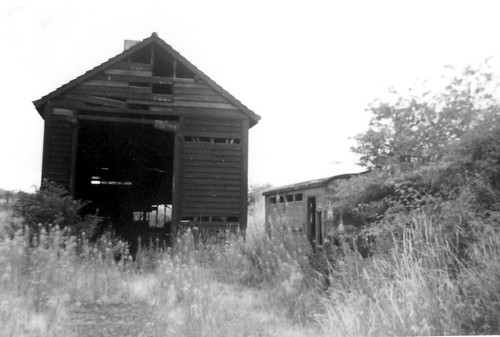
Fairford MPD 27.7.66 by kal.917, on Flickr
Lovely picture! Thanks to kal.917.
The shed I built for Brookford is based on that at Laxfield.
Cheers for now,
Paul
-
 6
6

4 Comments
Recommended Comments
Create an account or sign in to comment
You need to be a member in order to leave a comment
Create an account
Sign up for a new account in our community. It's easy!
Register a new accountSign in
Already have an account? Sign in here.
Sign In Now