

Ropley - Carriage shed progress
Entry posted by TomE
1,657 views
Hi all.
Slow progress is being made with the carriage shed building for Ropley. The laborious task of applying each individual raised section of cladding is not the most enjoyable modelling task to date, but hopefully the end result will be worth it!
In the previous entry a request was made to show the process of construction, so here’s a quick run down also showing the progress to date.
The first step was to work out the dimensions of the building. This was done using photos to generate a paper mock-up to check the sizing was correct. The second stage was to cut the basic building from 20 thou plasticard which will form the basic shell. The next step was to make the outer layer which represents the building cladding. The real building is not flat between the larger cladding joins and to try and give some representation of this Evergreen V grove sheet has been used.
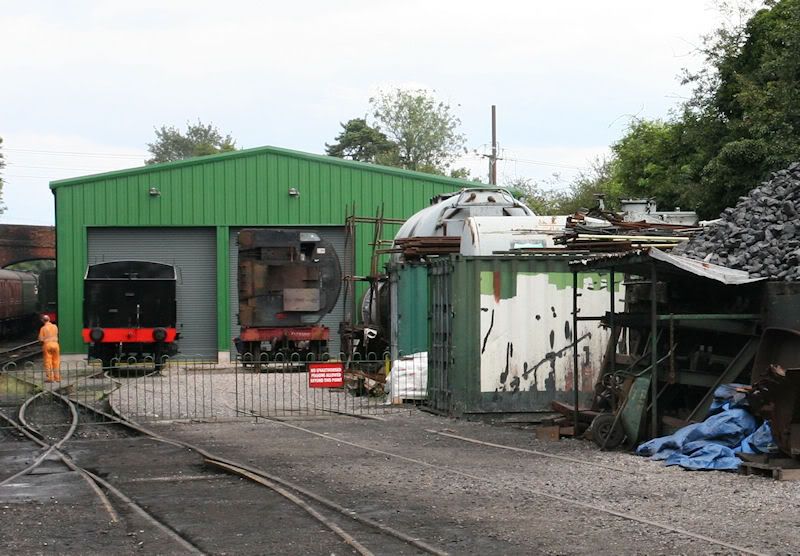
For reference, here is the prototype building at Ropley:
Here you can see the basic shell layer, and the top layer with window cut outs:
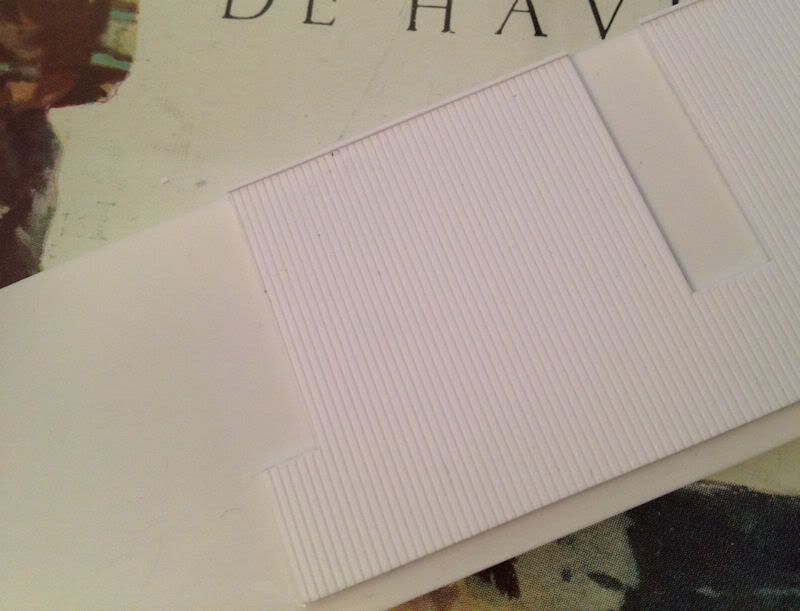
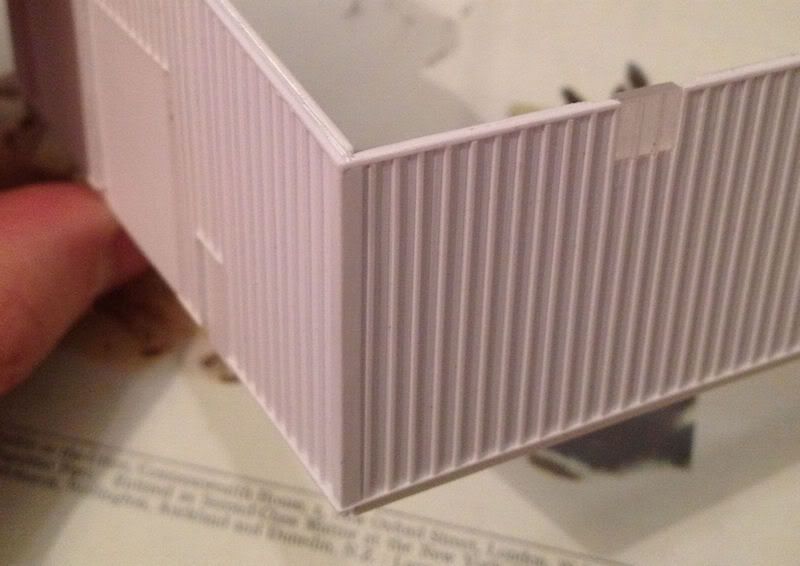
The more prominent cladding strips are then produced by applying .25mm x .5mm Evergreen strip at regular intervals:
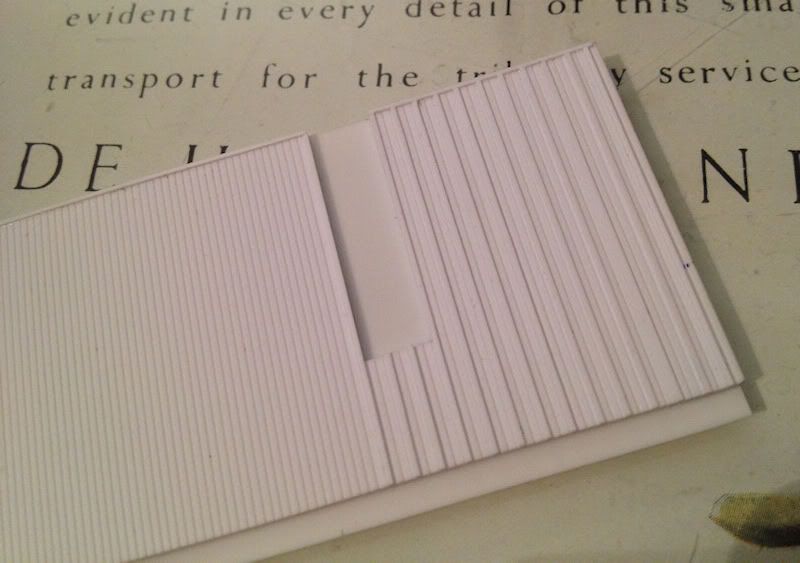
To ensure these are as straight as possible a small metal ruler us used when applying them:

The sides of the building will fit into a U channel on the front face produced by the corner cladding. I wasn't sure if this method would work that well, but in fact the channel holds the sides in place quite effectively:
Once the sides are finished, the roof will be produced in pretty much the same way, although there are skylights are more frequent intervals than the windows.
The breeze blocks that form the base of the building will be fixed to the concrete floor, forming a cradle for the building to sit in and allowing it to be removed for transport. It will also allow me to replace this building with an internally detailed version in the future if I ever get the urge!
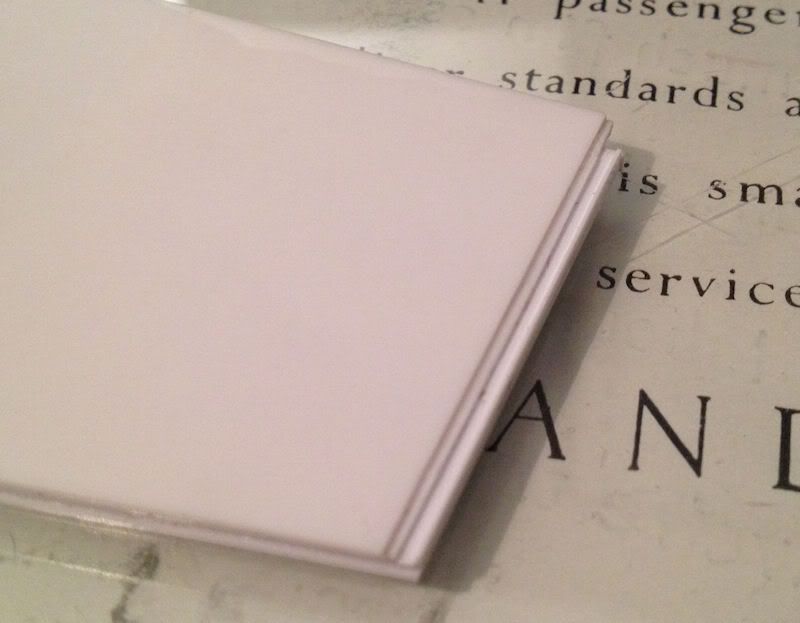
Finally, the building as it stands at present:
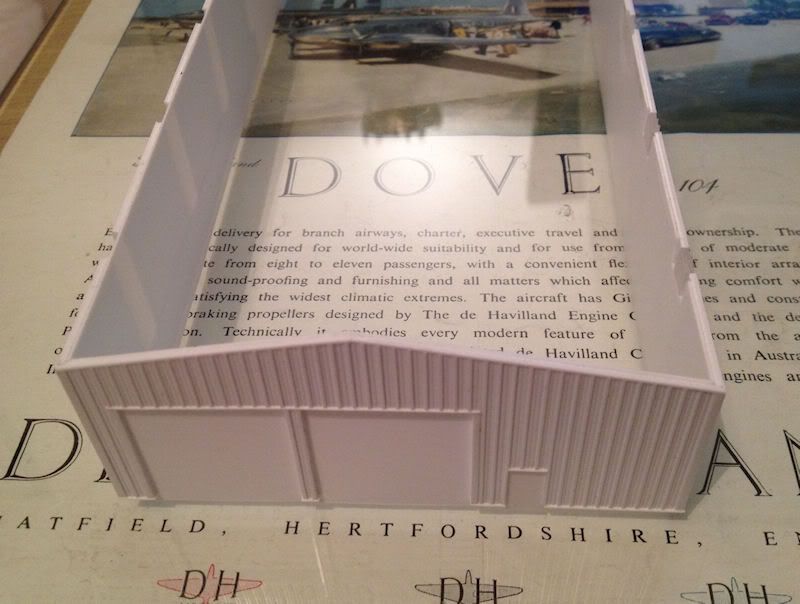
The big test will be when the first coat of primer is applied. Any not quite straight cladding will be highlighted and will need to be replaced, but fingers crossed there will only be the odd one or two pieces.............!
Cheers all.
Tom.
-
 1
1

5 Comments
Recommended Comments
Create an account or sign in to comment
You need to be a member in order to leave a comment
Create an account
Sign up for a new account in our community. It's easy!
Register a new accountSign in
Already have an account? Sign in here.
Sign In Now